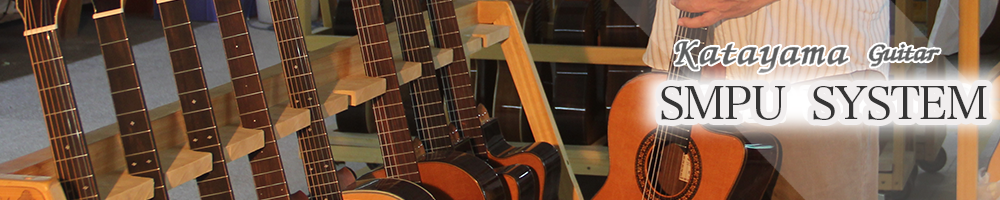
Surface Mount Pick Up System Production process
![](https://www.katayamaguitar.com/wp-content/themes/katayama/images/content_img35.png)
![](https://www.katayamaguitar.com/wp-content/themes/katayama/images/content_img15.png)
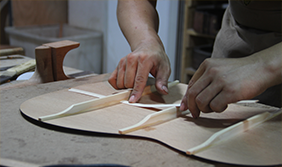
Attaching the bracings and the center lining to the back sound board, carefully checking the procedure so that there are no gaps
![](https://www.katayamaguitar.com/wp-content/themes/katayama/images/content_img36.png)
![](https://www.katayamaguitar.com/wp-content/themes/katayama/images/content_img16.png)
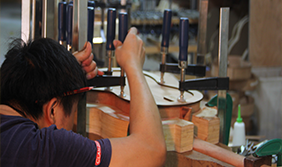
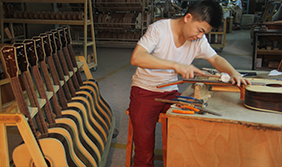
Attaching the backboard to the side plate.
More firm press bonding to finish it in the best condition both sound-wise and strength-wise is enabled by using multiple clamps while confirming there is not a slightest gap by eyes.
![](https://www.katayamaguitar.com/wp-content/themes/katayama/images/content_img37.png)
![](https://www.katayamaguitar.com/wp-content/themes/katayama/images/content_img17.png)
The best balance of strength and playability is achieved by checking it with gauges and hands.
![](https://www.katayamaguitar.com/wp-content/themes/katayama/images/content_img38.png)
![](https://www.katayamaguitar.com/wp-content/themes/katayama/images/content_img18.png)
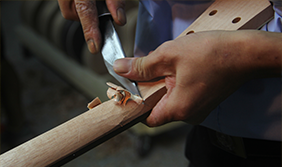
The shaping of the heal part gives it elegance.
![](https://www.katayamaguitar.com/wp-content/themes/katayama/images/content_img39.png)
![](https://www.katayamaguitar.com/wp-content/themes/katayama/images/content_img19.png)
Nailing the fret wires into finger board.
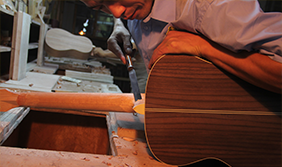
It is essential to flatten the surface.
![](https://www.katayamaguitar.com/wp-content/themes/katayama/images/content_img40.png)
![](https://www.katayamaguitar.com/wp-content/themes/katayama/images/content_img29.png)
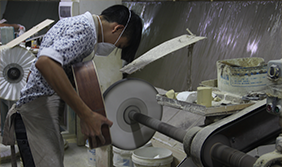
Buffing to glaze after coloring.
![](https://www.katayamaguitar.com/wp-content/themes/katayama/images/content_img42.png)
![](https://www.katayamaguitar.com/wp-content/themes/katayama/images/content_img30.png)
Making slots according to the width of the strings and adjusting the difference between the frets and the strings so it doesn’t buzz when it is being played.
![](https://www.katayamaguitar.com/wp-content/themes/katayama/images/content_img41.png)
![](https://www.katayamaguitar.com/wp-content/themes/katayama/images/content_img31.png)
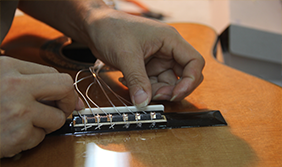
Installing SMPU system in the bridge of a classic guitar
![](https://www.katayamaguitar.com/wp-content/themes/katayama/images/content_img44.png)
![](https://www.katayamaguitar.com/wp-content/themes/katayama/images/content_img32.png)
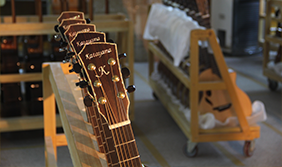
Waiting for inspection Katayama Guitar’s Logo symbolizes “I+K”
![](https://www.katayamaguitar.com/wp-content/themes/katayama/images/content_img43.png)
![](https://www.katayamaguitar.com/wp-content/themes/katayama/images/content_img33.png)
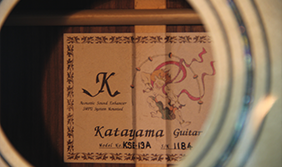
The label of Washi paper (Japanese traditional paper) with Raijin printed on it tells that it is an SMPU-mounted guitar. For non SMPU guitars, Fujin is printed.
![](https://www.katayamaguitar.com/wp-content/themes/katayama/images/content_img45.png)
![](https://www.katayamaguitar.com/wp-content/themes/katayama/images/content_img34.png)
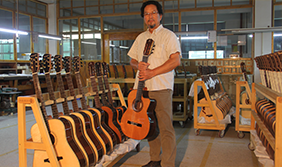
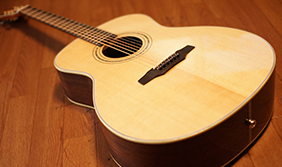
The president is holding a brand new Katayama guitar which is through the final inspection. It is not sold in Japan yet.